 지혜의 개발공부로그
iOS Firebase Push Notification(FCM)연동해보기
25 Jan 2021 | iOS개인공부 후 자료를 남기기 위한 목적임으로 내용 상에 오류가 있을 수 있습니다.
제 블로그에서는 단순히 파이어베이스에서 fcm 연동하는 부분만 정리하였습니다.
애플 개발자 홈페이지에서 인증서를 발급받는 부분은 정리되어있지 않습니다 :)
ios 파이어베이스 연동하기
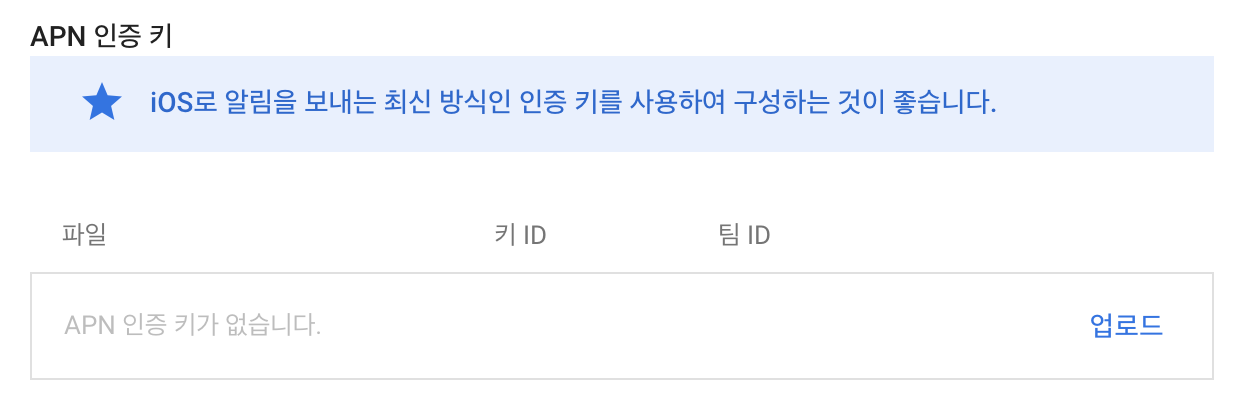
파이어베이스 콘솔 > [settings] > [클라우드 메시징]
APNs 파일을 업로드 하기위해 애플에서 발급받은 p8 파일을 같이 업로드 해줍니다.
뿐만 아니라 애플에서 발급받은 키ID와 팀ID를 입력합니다.
그리고 이제 xcode로 돌아옵니다.
Xcode > target > Push Notifications 추가
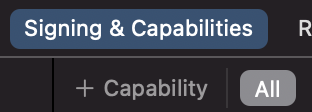
xcode로 돌아와 프로젝트의 target으로 들어가 + 버튼을 누르고 Push Notifications을 추가해줍니다.
그리고 Podfile에 아래를 추가해줍니다.
pod 'Firebase/Core'
pod 'Firebase/Analytics'
pod 'Firebase/Messaging'
이후 pod install 하는 것은 잊지마시구용!
App Delegate
pod install이 끝나면 app delegate로 돌아옵니다.
그리고 아래 코드를 추가해줍니다.
(import Firebase와 import UserNotifications 꼭 해주세요!)
func application(_ application: UIApplication, didFinishLaunchingWithOptions launchOptions: [UIApplication.LaunchOptionsKey: Any]?) -> Bool {
    // Override point for customization after application launch.
    FirebaseApp.configure()
    UNUserNotificationCenter.current().delegate = self
    Messaging.messaging().delegate = self

    let authOptions: UNAuthorizationOptions = [.alert, .badge, .sound]
    UNUserNotificationCenter
      .current()
      .requestAuthorization(
        options: authOptions,completionHandler: { (_, _) in }
      )
    application.registerForRemoteNotifications()
    return true
위 코드는 푸시 권한과 파이어베이스 기타 셋팅입니다.
extension AppDelegate : MessagingDelegate {
    func messaging(_ messaging: Messaging, didReceiveRegistrationToken fcmToken: String?) {
        print("파이어베이스 토큰: \(String(describing: fcmToken))")
    }
}

extension AppDelegate : UNUserNotificationCenterDelegate {
    func userNotificationCenter(_ center: UNUserNotificationCenter,willPresent notification: UNNotification,withCompletionHandler completionHandler: @escaping (UNNotificationPresentationOptions) -> Void) {
        completionHandler([.alert, .badge, .sound])
    }

    func userNotificationCenter(_ center: UNUserNotificationCenter,didReceive response: UNNotificationResponse,withCompletionHandler completionHandler: @escaping () -> Void) {
        completionHandler()
    }
}
그리고 파이어베이스 메시지 전송의 토큰을 받을 수 있는 MessagingDelegate를 extension으로 분리해줍니다.
뿐만 아니라, UNUserNotificationCenterDelegate를 통해 파이어베이스 노티를 수신받습니다.
파이어베이스 토큰값은 하나의 기기 특정 상대에게만 보낼 수 있는 기기의 고유한 값입니다.
GoogleServiceInfo-plist 추가하기
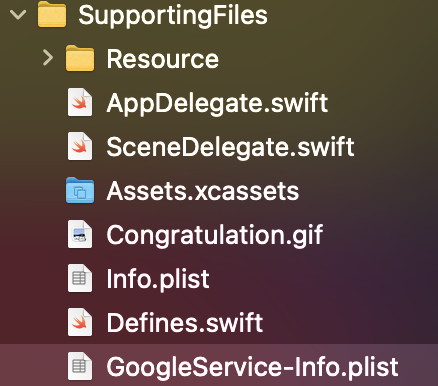
그리고 한가지 더 추가할 점! > xcode에 GoogleServiceInfo.plist 파일을 넣어주어야 합니다.
위 파일은 파이어베이스에서 처음 앱을 등록했을 때 받았을 수도 있고, 그렇지 않다면 아래 경로로 들어가 저장해주면 된다.
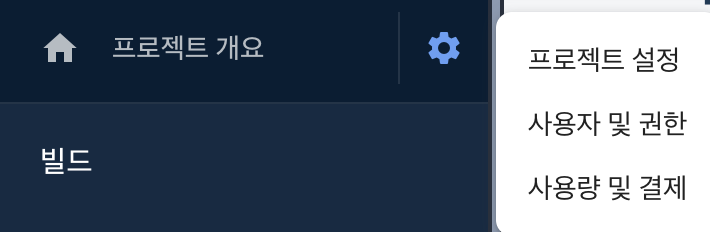
파이어베이스 콘솔창에서 [프로젝트 설정] > [일반]에 들어가 아래로 스크롤 하면 plist를 저장받을 수 있습니다.
저장한 파일은 xcode내 supporting files안에 넣어주면 됩니다.
그럼 이제 백그라운드 및 포어그라운드에서 알람메시지가 잘 작동하는지 다시 파이어베이스 홈페이지로 고고합시당.
push 확인해보기
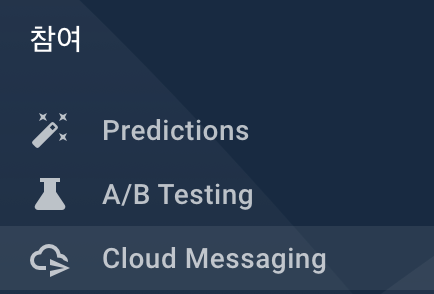
파이어베이스 콘솔창을 한참 내리다 보면 Cloud Messaging이 있습니다.
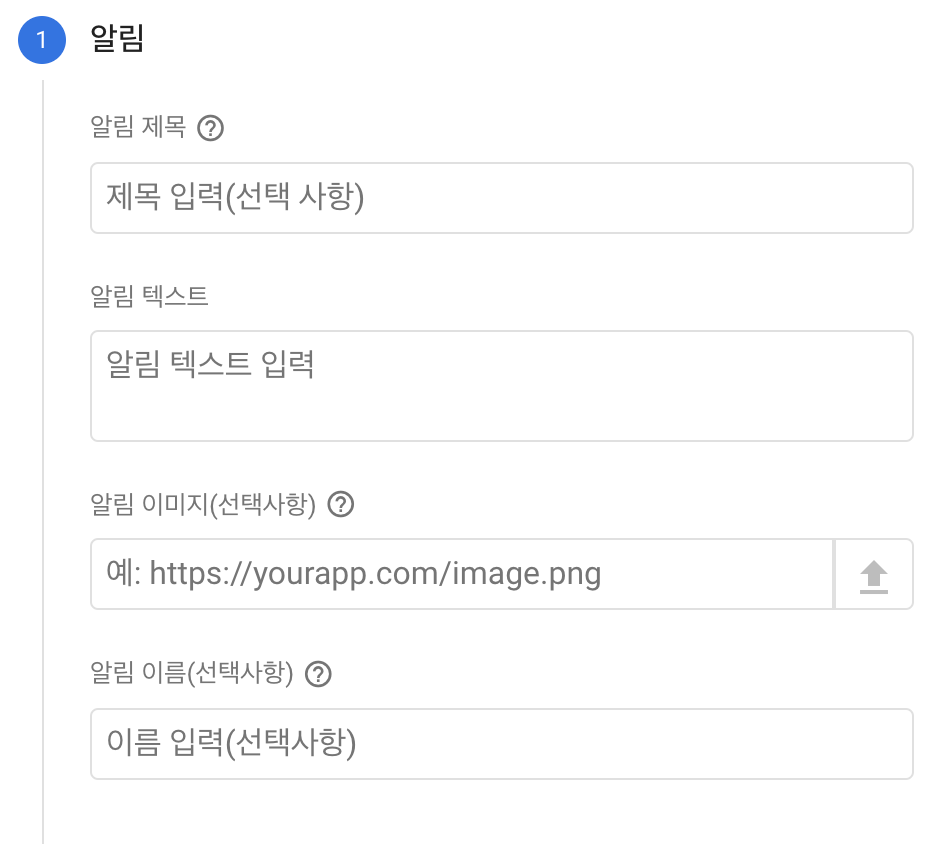
클릭 후 들어가 새 알림 을 클릭해주고, 푸시할 내용을 적어주면 테스트 메시지 전송 버튼이 활성화될 것입니다.
그러면 아래와 같이 FCM 등록 토큰 추가 라는 화면이 보일 것이다.
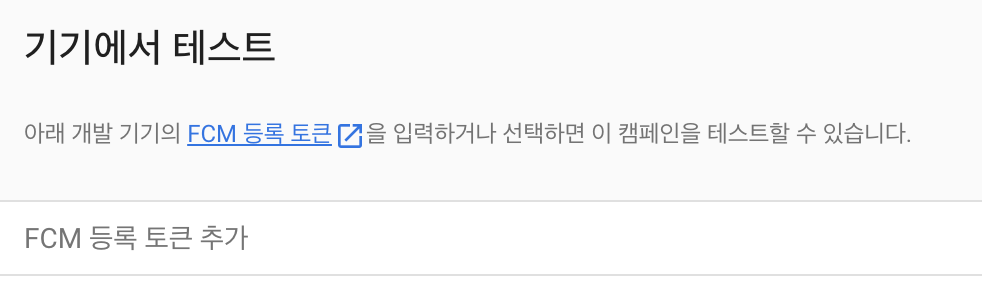
이 토큰은 어디서 구할 수 있냐!? 다시 xcode로 들어가보자.
위 과정을 모두 처리한 다음 시뮬레이터를 돌려보면 xcode 로그창에 이상한 메시지가 떠있을것이다.
이때 받은 토큰을 파이어베이스 FCM 등록 토큰 추가에 넣어주면 됩니다.
이후 테스트 버튼을 눌러서 제대로 푸시가 오는지 확인해보세요!