 지혜의 개발공부로그
테이블 뷰 구현해보기(연습)
15 Feb 2020 | iOS개인공부 후 자료를 남기기 위한 목적임으로 내용 상에 오류가 있을 수 있습니다.
테이블 뷰 구현해보기
- 프로젝트 하나를 만들어서 main.storyboard에서
tableView,tableViewCell을 만들어준다. - tableViewCell의 style은 각자 원하는 대로 그치만 지금은 basic으로 설정하며
identifier: cell로 지정해준다.

그리고 간단한 코드를 구현해보자!
import UIKit

class ViewController: UIViewController {

    @IBOutlet weak var tableView: UITableView!
    let cellIdentifier: String = "cell"

    let korean: [String] = ["가", "나", "다", "라"]
    let english: [String] = ["a", "b", "c", "d"]
}
우리가 만든 outlet과 table view를 스토리보드에서 연결시켜준다.
실제 우리가 테이블뷰를 사용하기 위해서는 UITableViewDelegate와 UITableViewDataSource를 사용해야 한다.
import UIKit

class ViewController: UIViewController, UITableViewDelegate, UITableViewDataSource {

    @IBOutlet weak var tableView: UITableView!
    let cellIdentifier: String = "cell"

    let korean: [String] = ["가", "나", "다", "라"]
    let english: [String] = ["a", "b", "c", "d"]
}
즉, 위 코드와 같이 UITableViewDelegate, UITableViewDataSource 프로토콜을 채택한다.
이를 사용하기 위해 스토리보드에서 직접 연결을 할 수도 있다.

그리고 코드로 구현해볼 수도 있다.
override func viewDidLoad() {
    super.viewDidLoad()
    // Do any additional setup after loading the view.
    self.tableView.delegate = self
    self.tableView.dataSource = self
}
근데 이렇게 채택한 프로토콜을 사용하려하면 아래와 같은 오류가 계속 떠있을 것이다.

UITableViewDataSource가 정의되어 있는 곳으로 들어가보면 publie, optional 등 다양하게 구현되어있는 것을 볼 수 있다.
이때 옵셔널이 아닌것은 꼭 구현이 되어야 한다는 것을 의미한다.
그러니 우선 아래 두 함수를 구현해보도록 하자
func tableView(_ tableView: UITableView, numberOfRowsInSection section: Int) -> Int {
    return 0
}

func tableView(_ tableView: UITableView, cellForRowAt indexPath: IndexPath) -> UITableViewCell {
    return UITableViewCell()
}
첫번째 함수는 테이블뷰에 섹션에 해당하는 로우가 몇개인지를 알려달라는 메소드로 return을 통해 알려주게 되며 두번째는 로우마다 해당하는 셀을 돌려달라는 메소드이다. 지금 우리는 코드에서 한글섹션과 영어섹션 두개를 나누어서 구성을 해볼 것인데, 이를 구성하는 방법은 무엇일까? > tableView numberOfSection 사용
func numberOfSections(in tableView: UITableView) -> Int {
    return 2  // 두개의 섹션을 사용할 것
}

func tableView(_ tableView: UITableView, numberOfRowsInSection section: Int) -> Int {
    switch section {  // 각 섹션마다 다른 갯수를 돌려줄 것
    case 0:  // tableView의 section은 0부터 시작
        return korean.count  // 한글 array의 갯수만큼 돌려줌
    case 1:
        return english.count  // 영어 array의 갯수만큼 돌려줌
    default:
        return 0
    }
}

func tableView(_ tableView: UITableView, cellForRowAt indexPath: IndexPath) -> UITableViewCell {

    let cell: UITableViewCell = tableView.dequeueReusableCell(withIdentifier: self.cellIdentifier, for: indexPath)
    let text: String = indexPath.section == 0 ? korean[indexPath.row] : english[indexPath.row]
    cell.textLabel?.text = text  // 셀에 표현될 데이터

    return cell
}
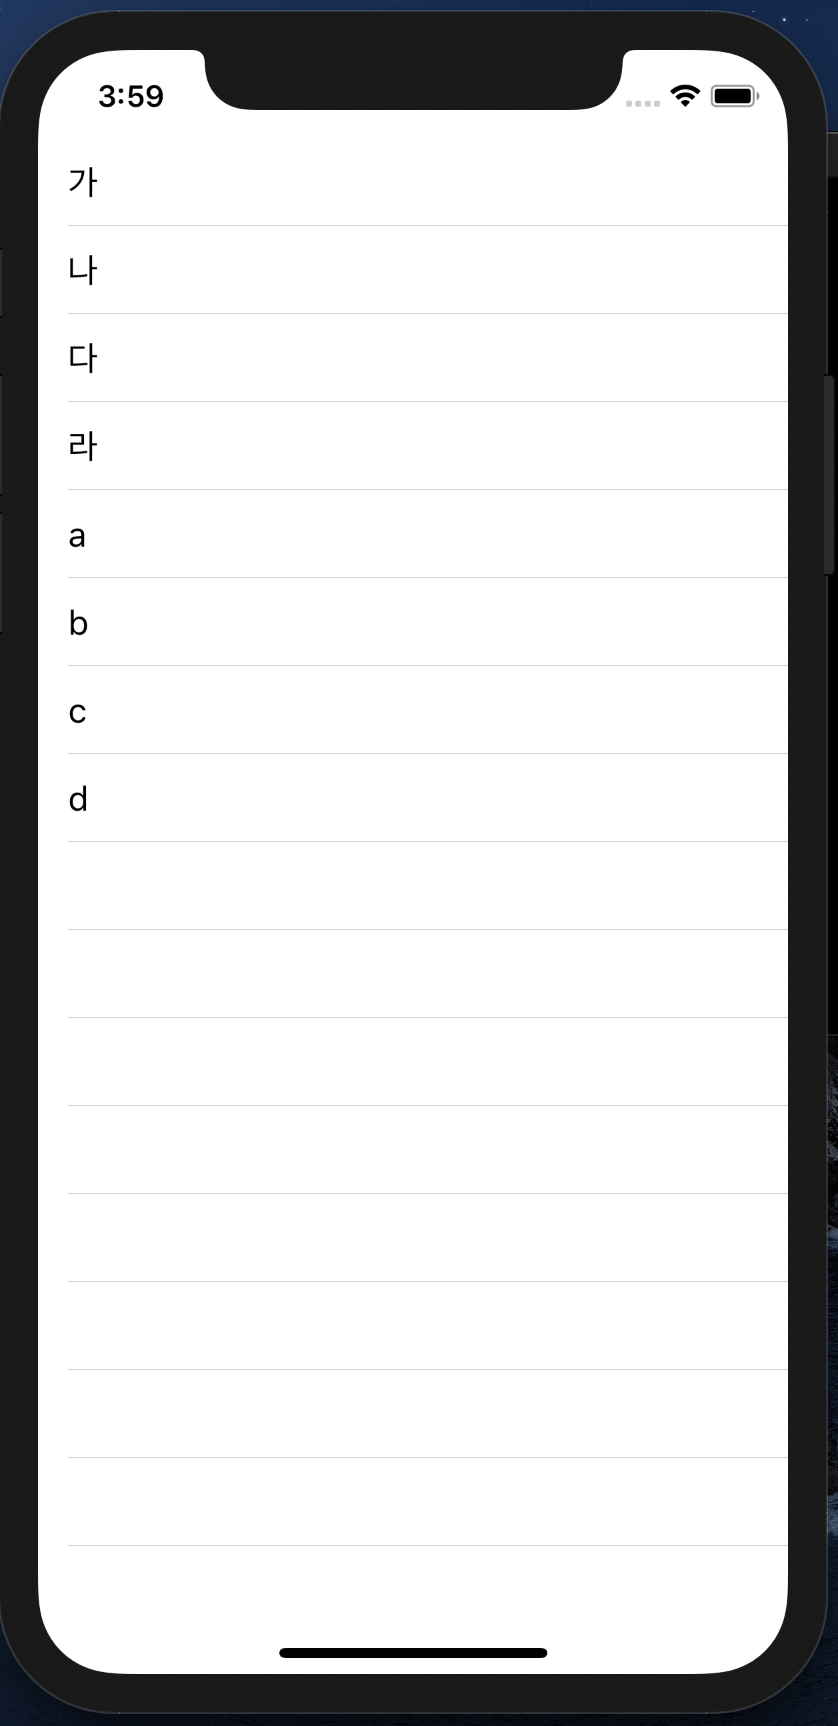
잘 정렬되어 나왔지만, 섹션 구분이 좀 어려워보인다.
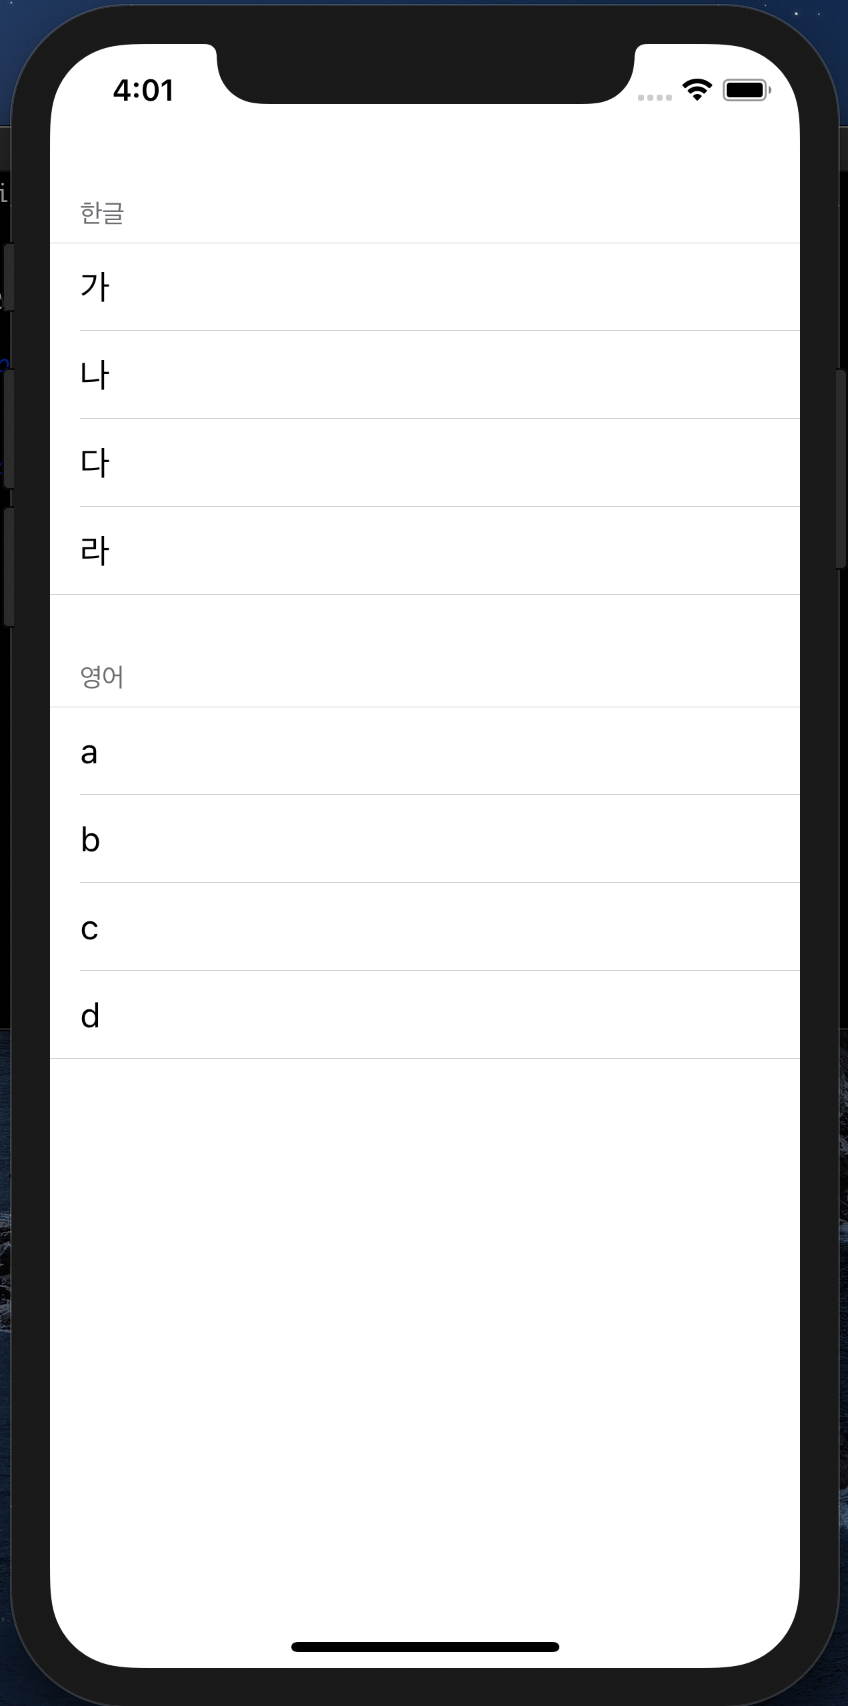
func tableView(_ tableView: UITableView, titleForHeaderInSection section: Int) -> String? {
    return section == 0 ? "한글" : "영어"
}
위 코드를 추가하면 아래와 같게 보여진다.
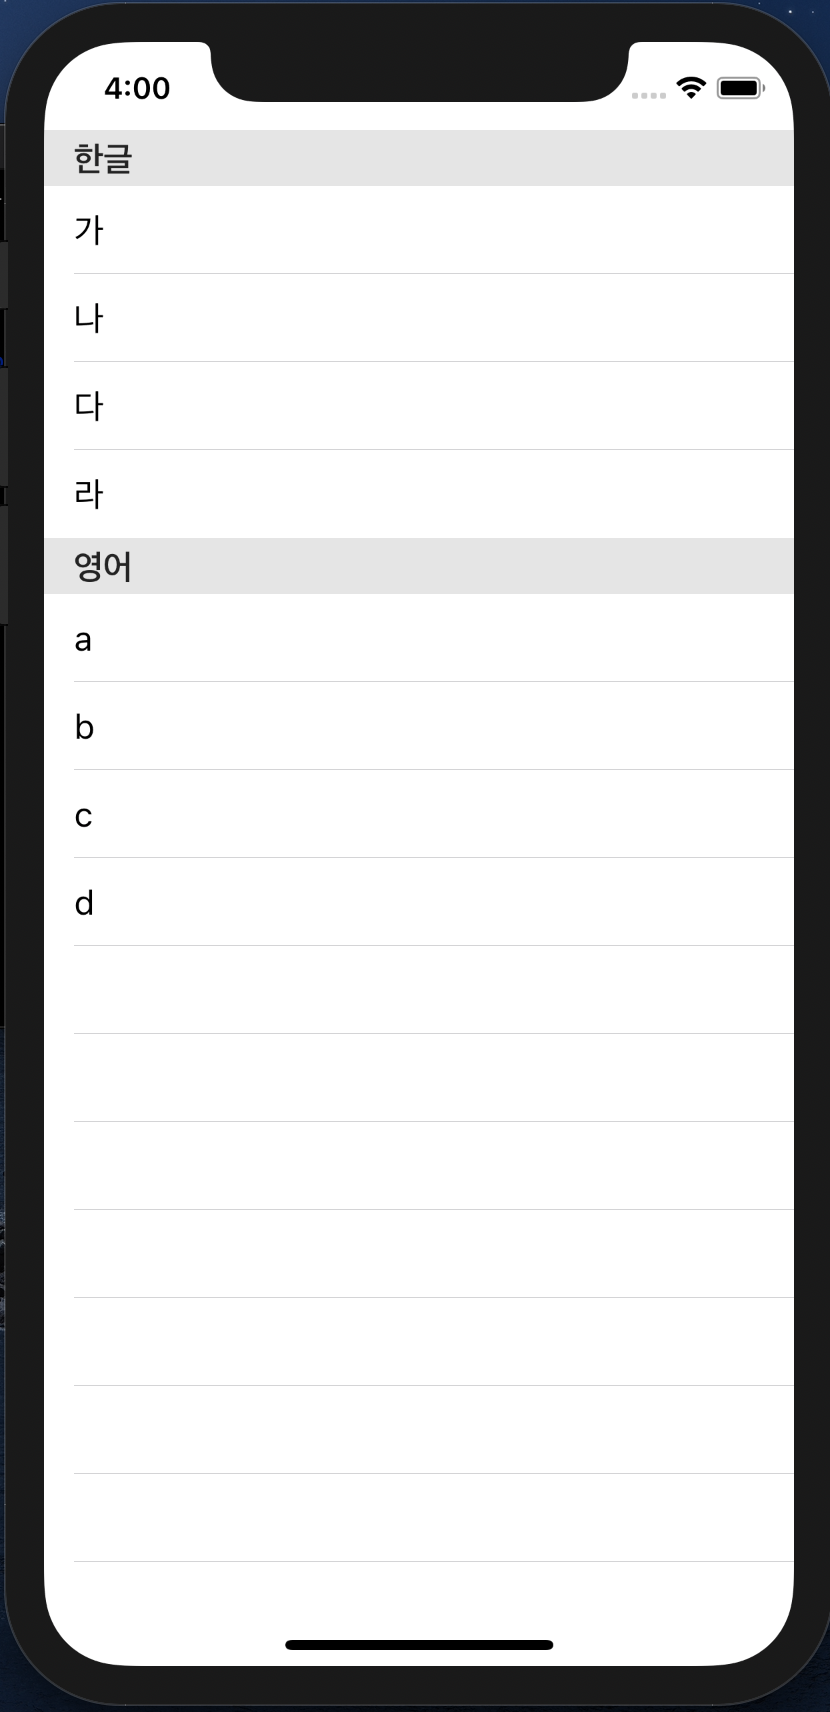
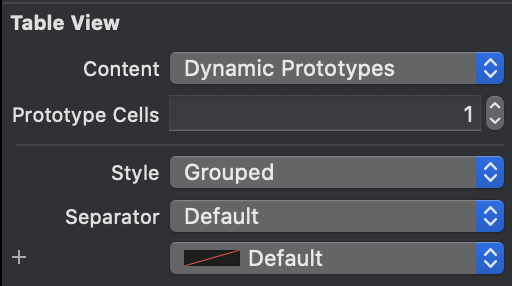
좀더 보기 예쁘게 해주기 위해서는 스토리보드로 넘어가 테이블뷰의 스타일을 grouped로 만들어준다.
아래처럼 완성!